Typ 3-in
číslo článku 046230


Spevnené uzatváranie upínacích bodov debnenia - maximálna bezpečnosť s vynikajúcim vzhľadom
Pridať do zoznamu upozorneníNajdôležitejšie informácie na prvý pohľad

![]()

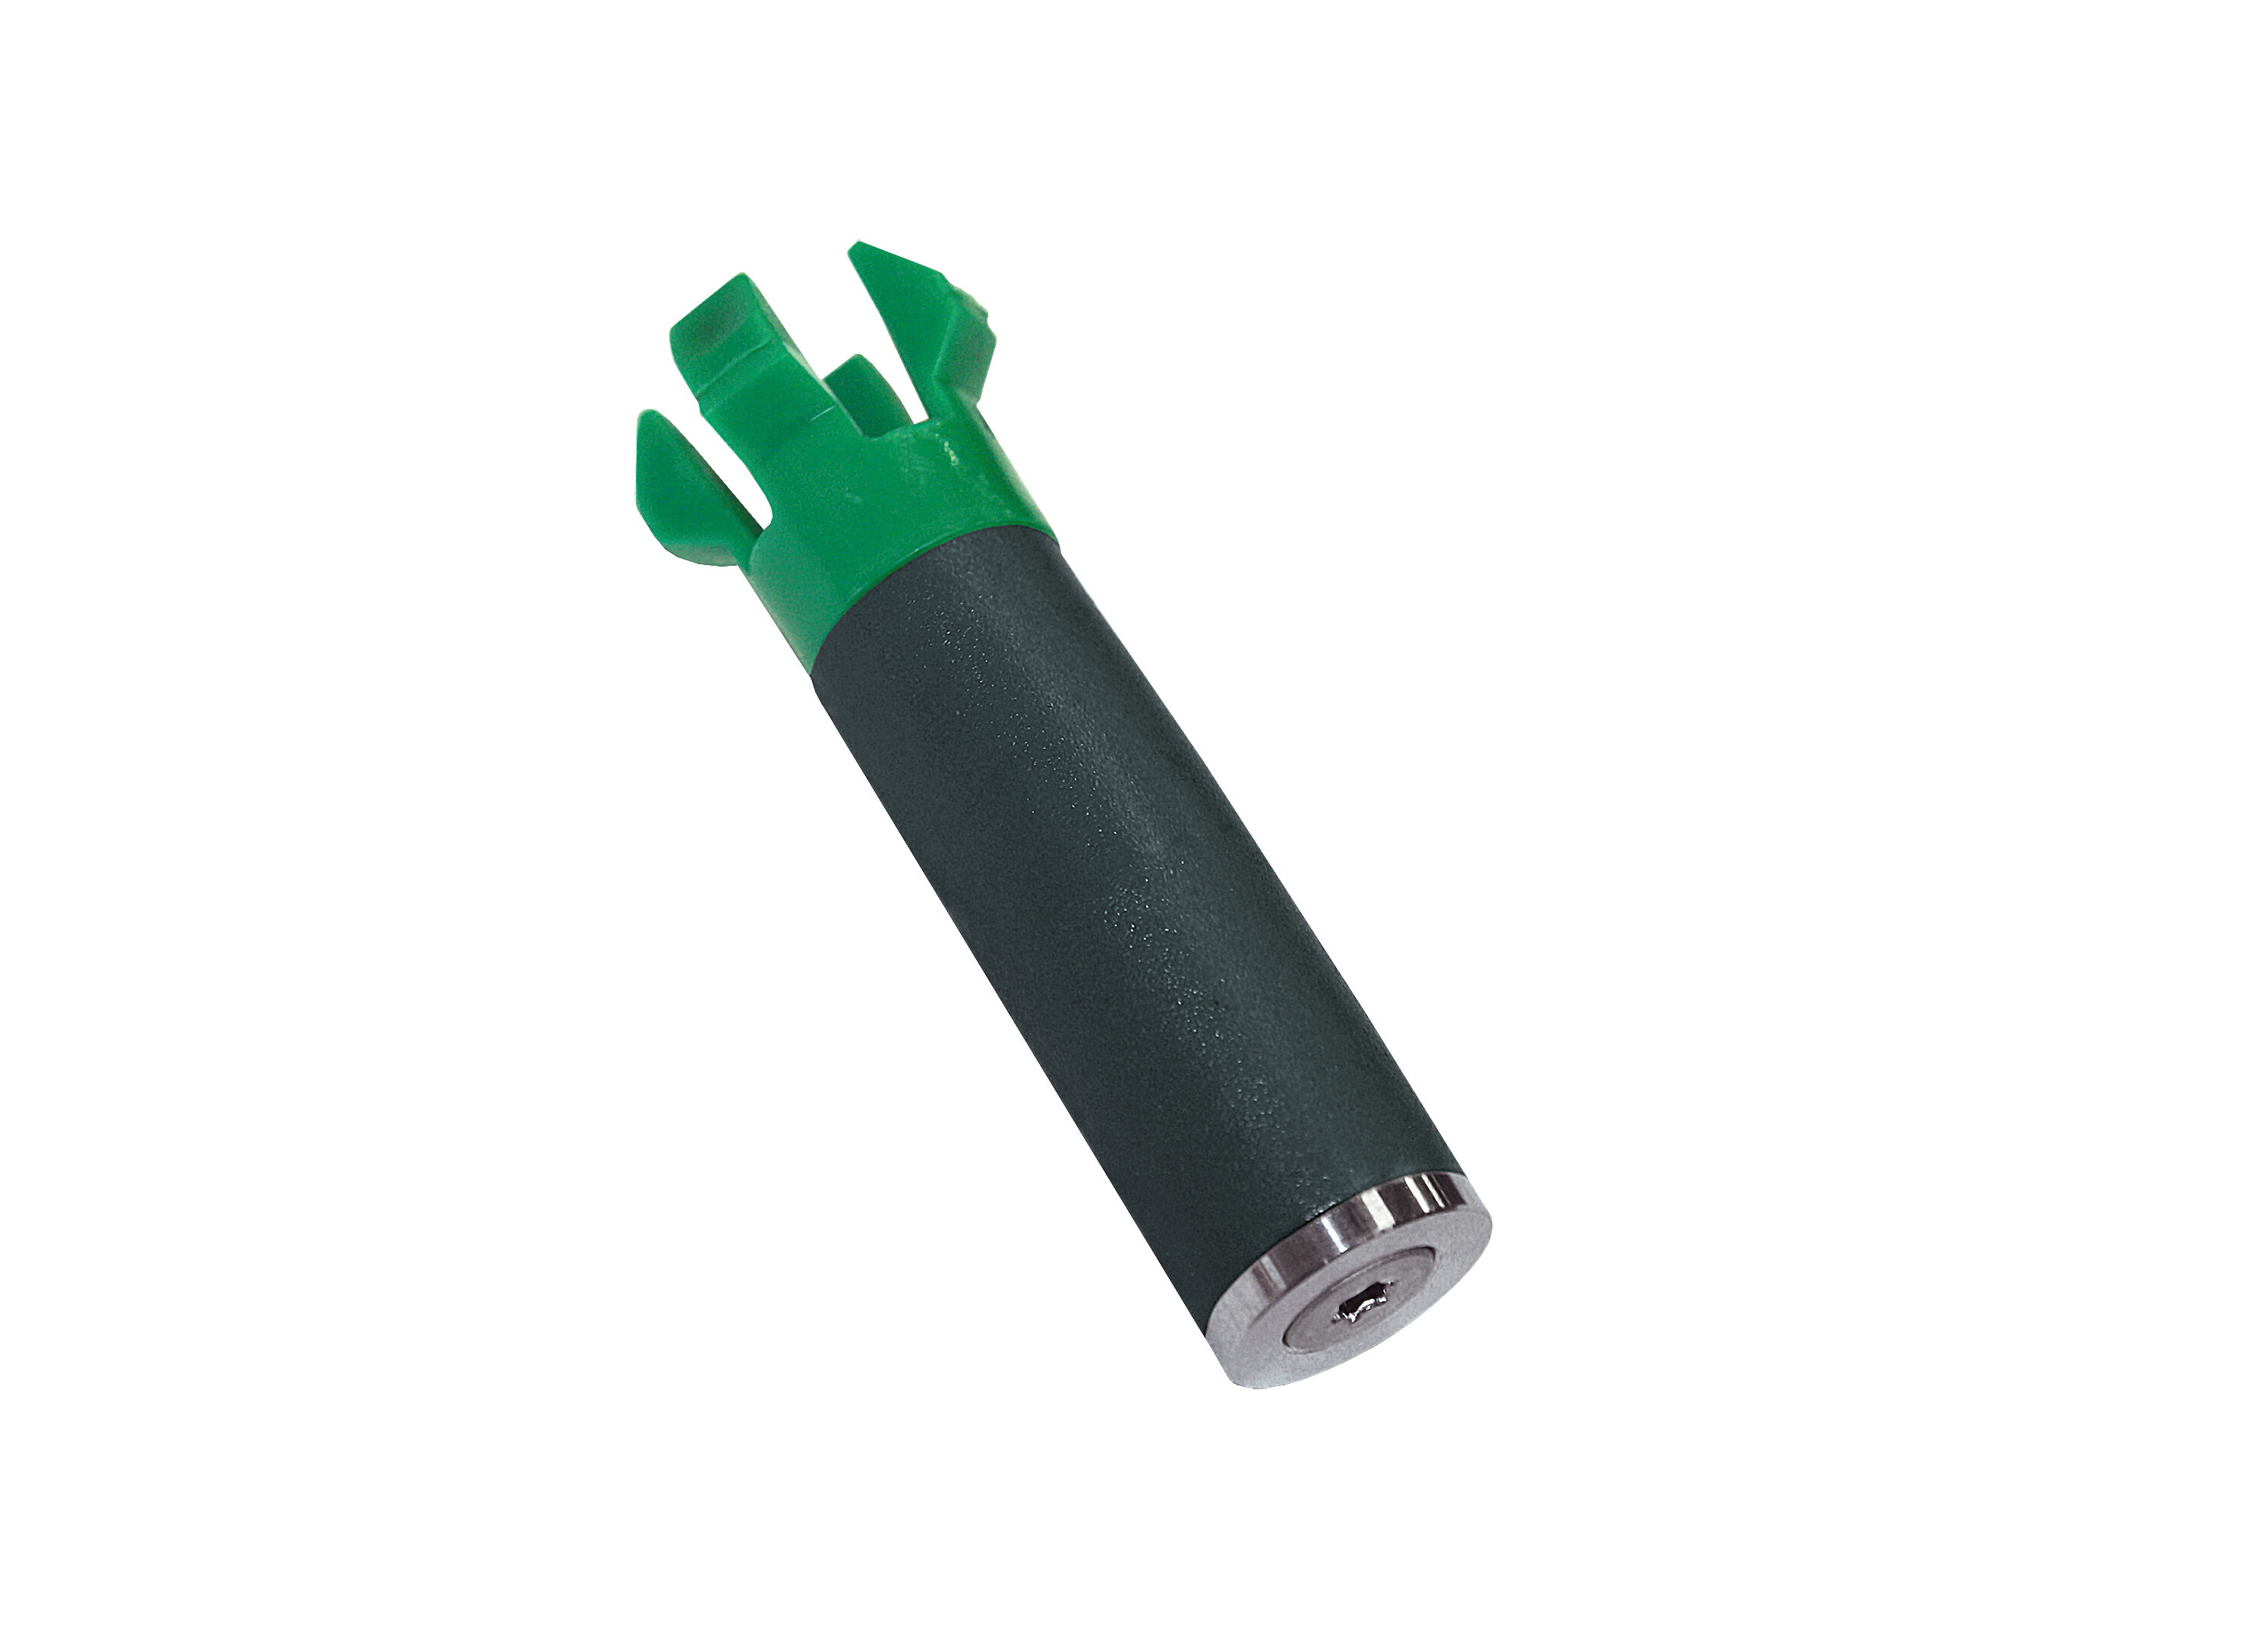
Skrutka / matica / prítlačný kotúč: nerezová oceľ V2A
Gumové tesnenie: termoplastický elastomér
Drážka: polyoxymetylén
Matica: strieborná
Tlakový kotúč: strieborný
Tesniaca guma: čierna
pazúr: zelený
17 až 19,5 mm
72 mm
Nie
Ja

Scope of delivery
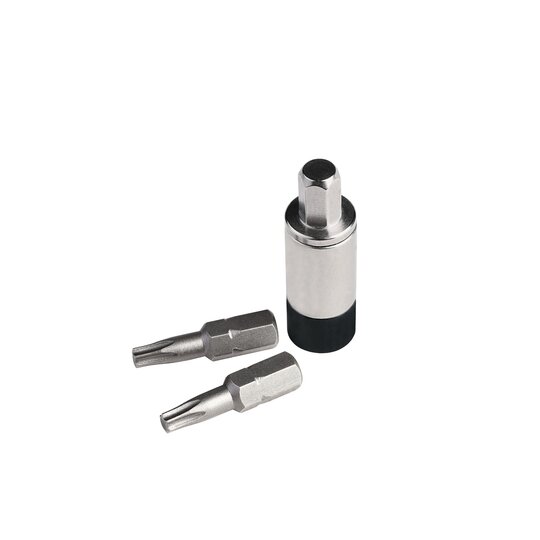
The STOPPER SCREW type in is delivered ready for installation in a plastic bucket (100 pcs.). Each bucket contains 4 bits, which are attached to the inside of the lid. (Type 6: 50 pcs. and 2 bits)

Installation tools
For installation you need:
- Cleaning brush
- Cordless screwdriver
- Hammer for driving in and positioning
- Torque control tool

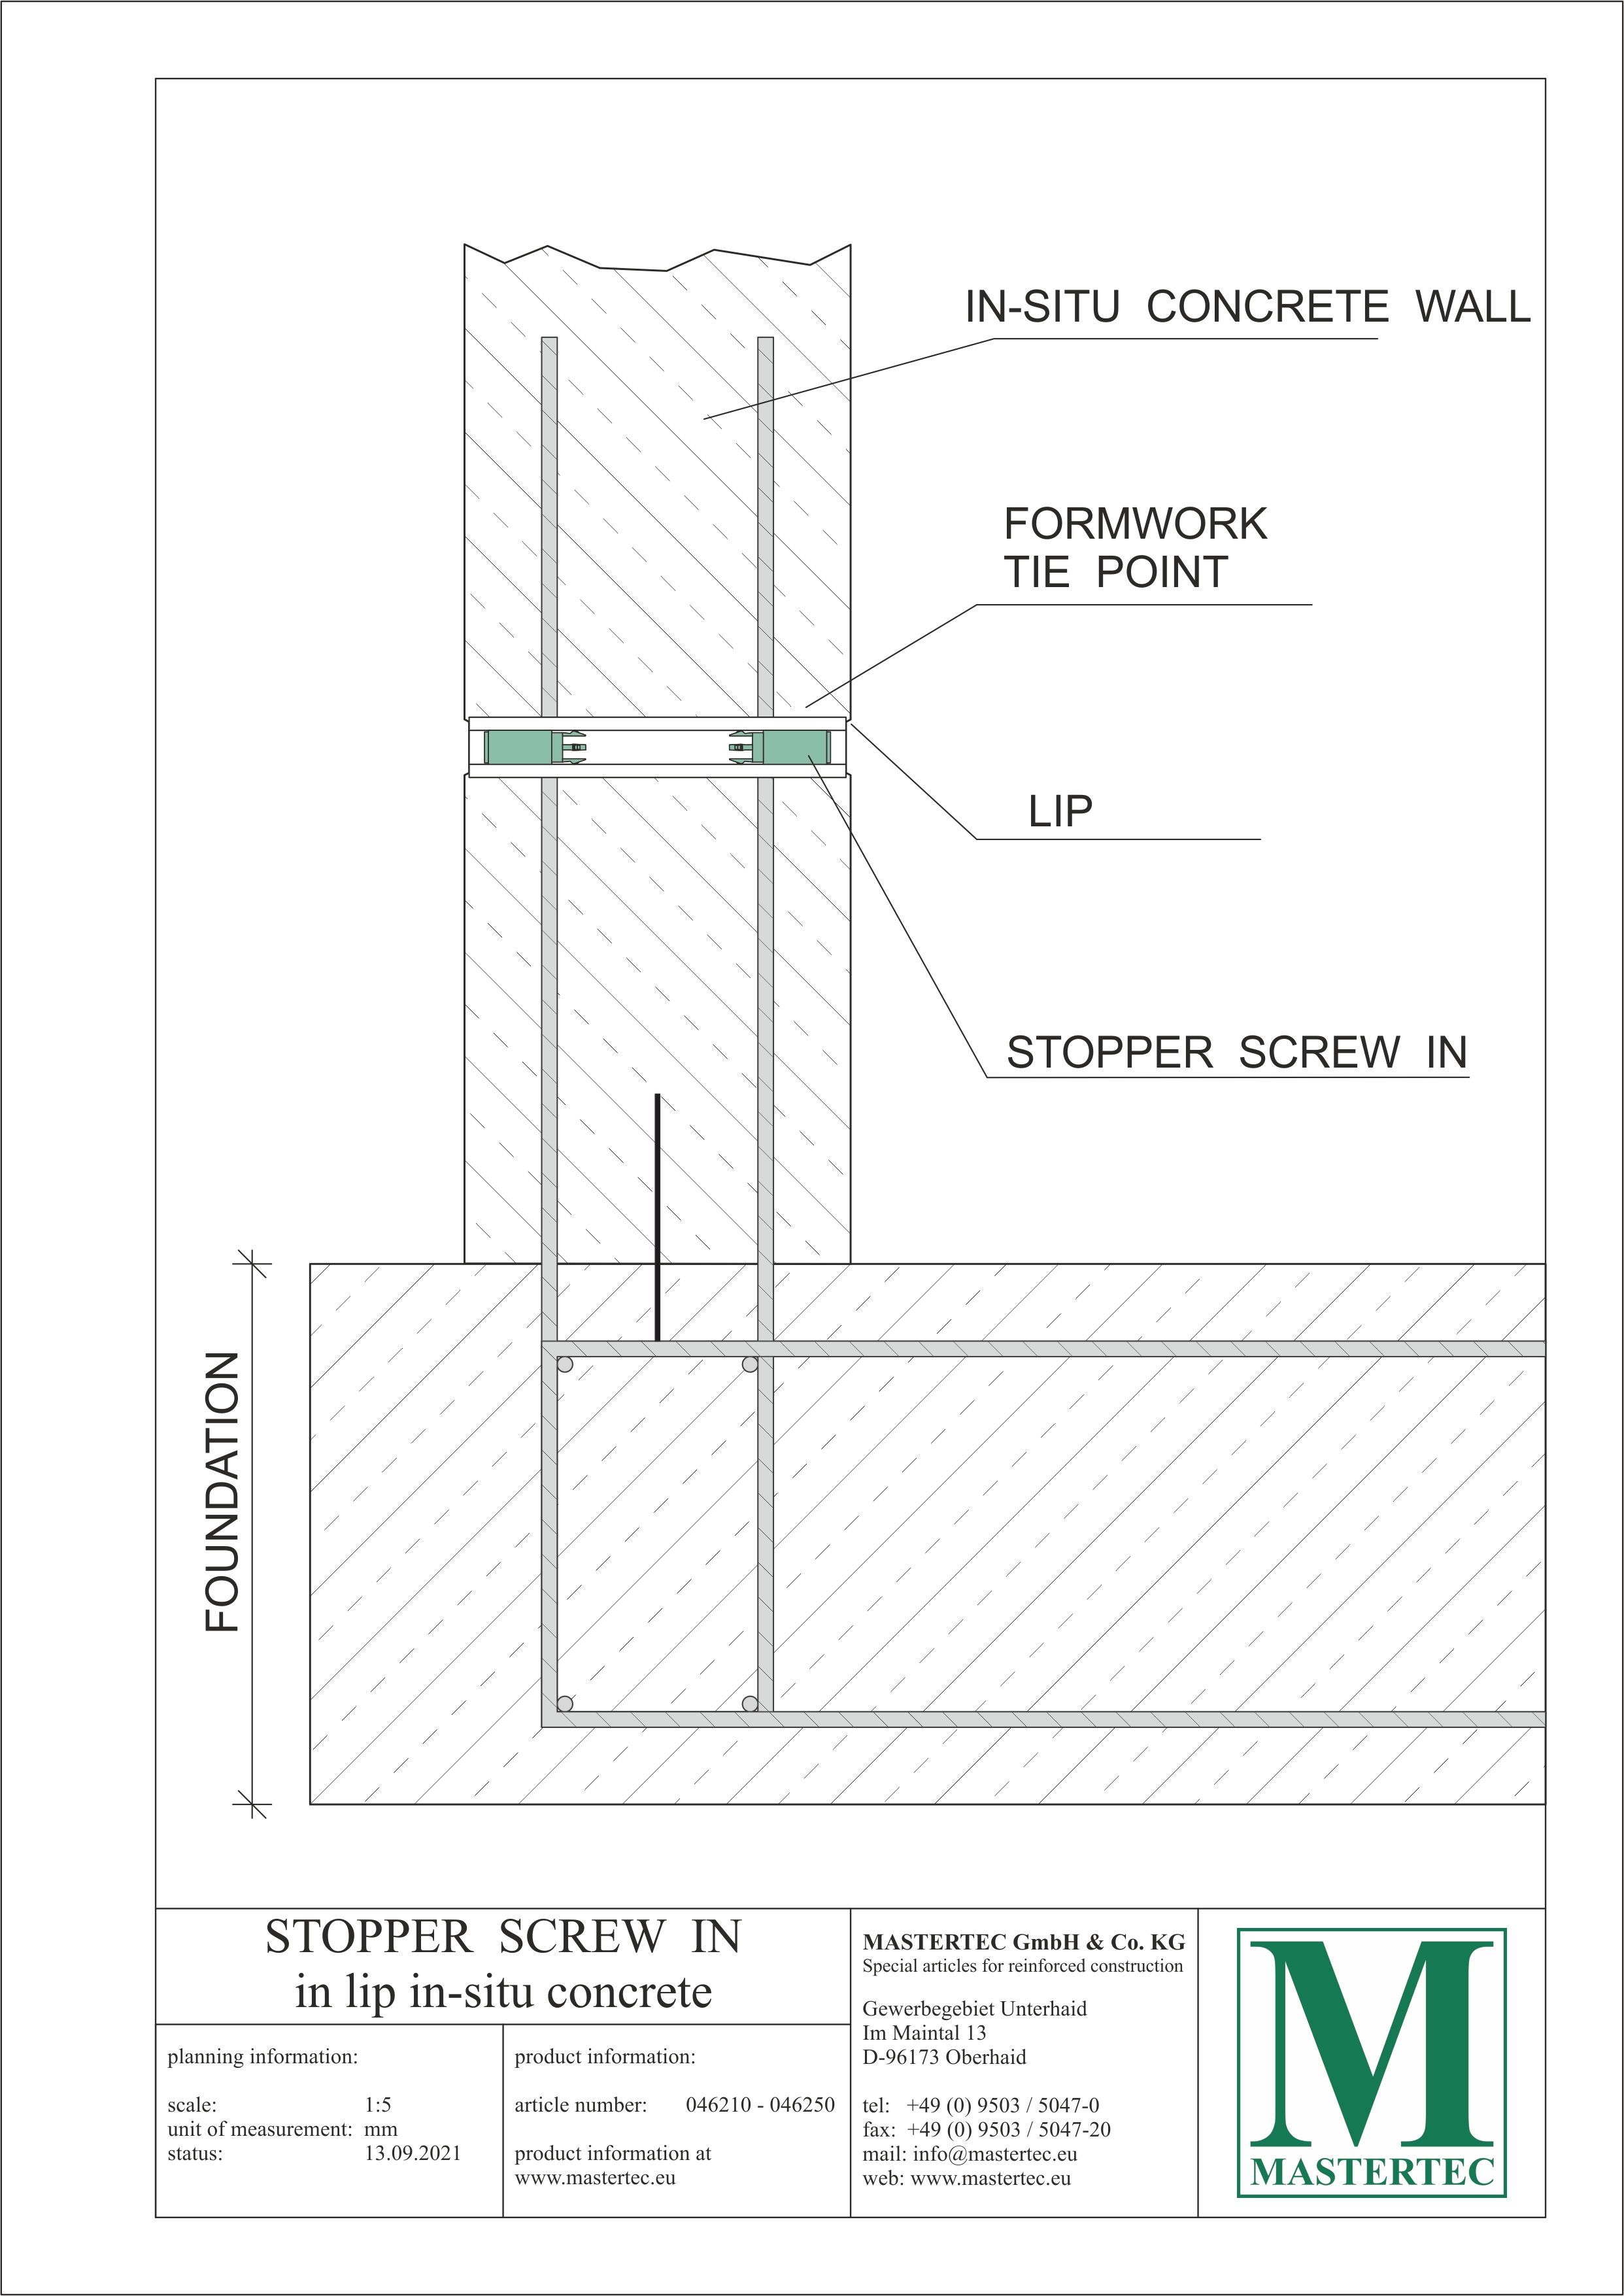
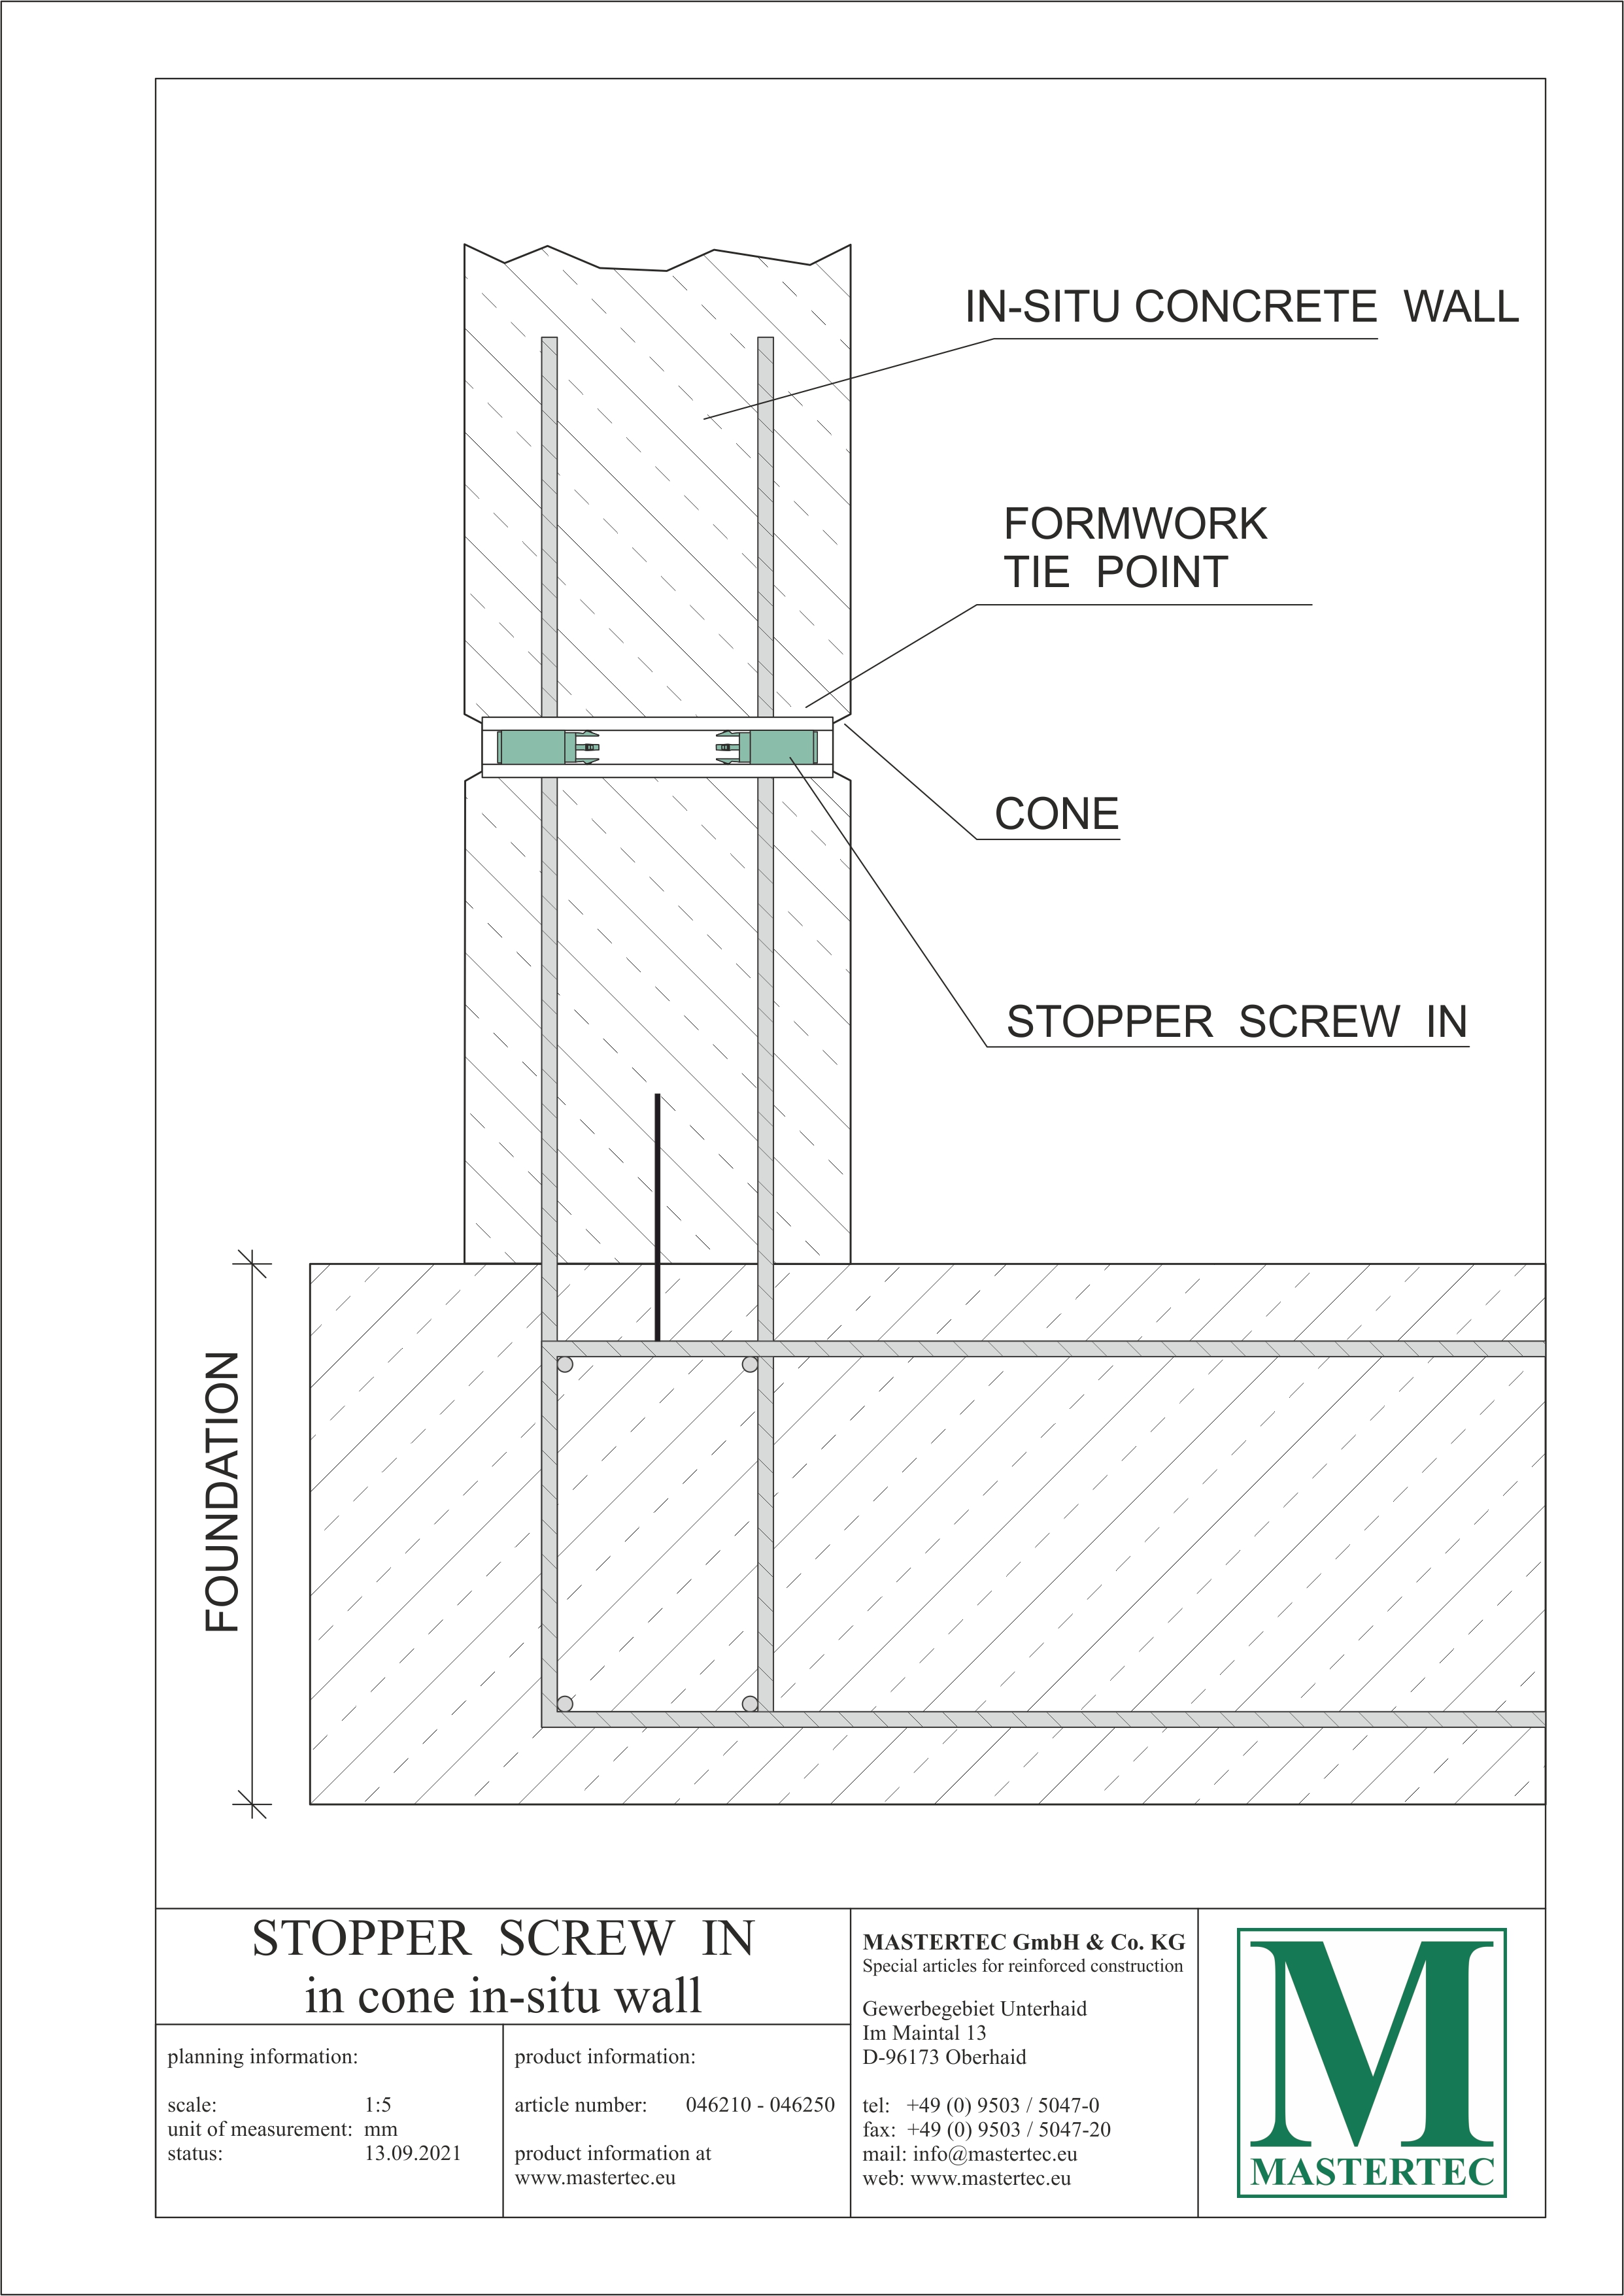
Preparation of tie point
Clean the inside of the tie point. Remove loose particles and dust before installation of STOPPER SCREW type in.

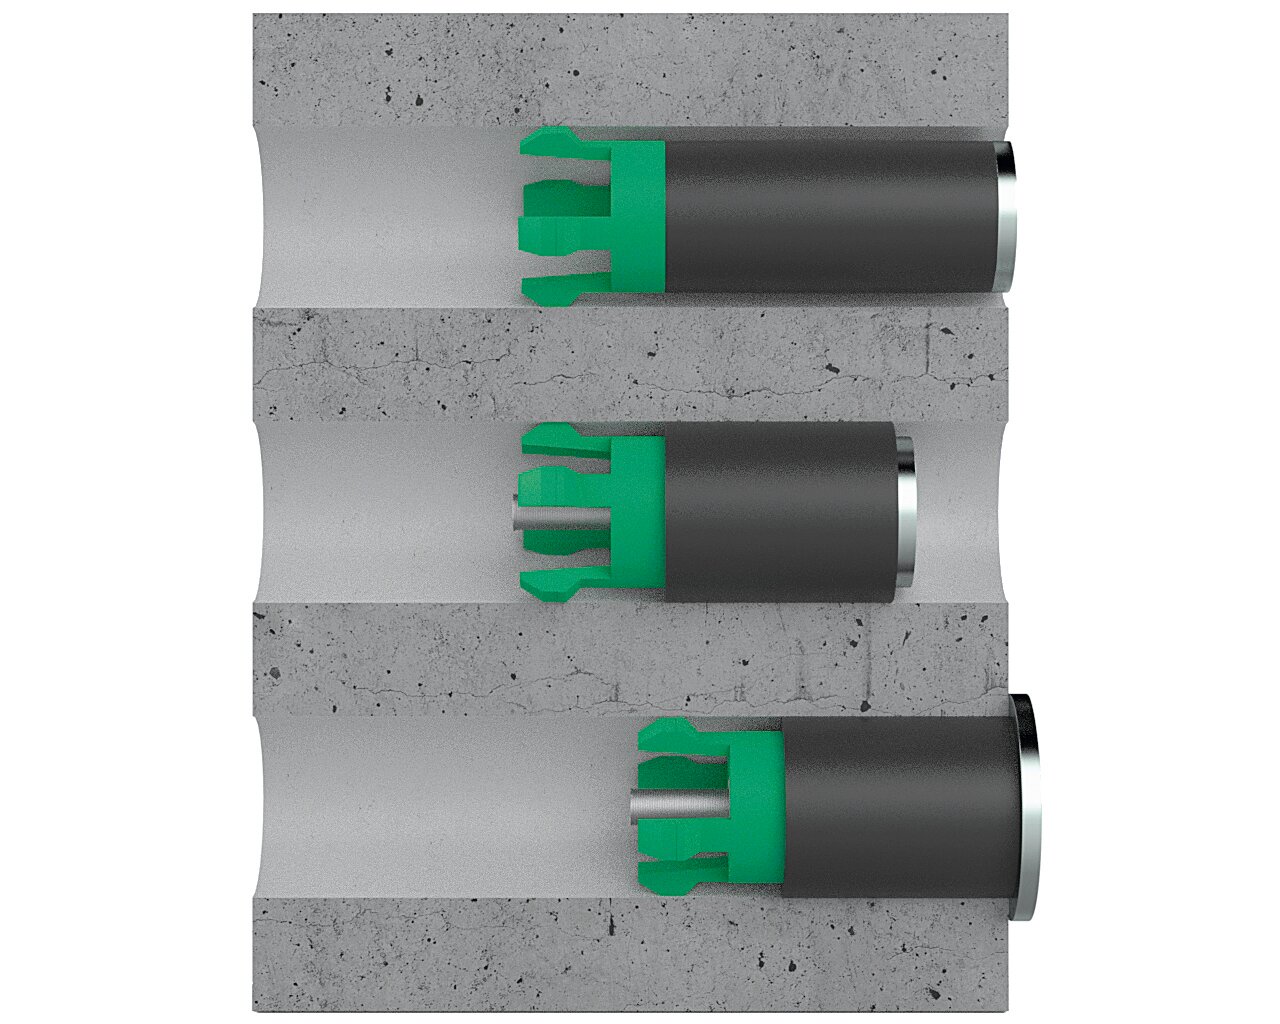
1. Insertion
Insert the STOPPER SCREW type in into the clean tie point to be sealed. To do this, position the claw of STOPPER SCREW type in in such a way that all 4 claw ends are inside the clearance of the tie point. With a hammer blow onto the pressure plate the claw of STOPPER SCREW type in slips into the tie point and centres itself.

2. Positioning
Push or drive the STOPPER SCREW type in into the desired position in the tie point. For a flush seal, after tightening, the untensioned STOPPER must protrude approx. 7 mm above the tie point.

Alternatively with STOPPER SCREW positioning aid
The use of the STOPPER SCREW positioning aid makes positioning much easier due to the recess on the front side.

3. Tightening
Tighten the screw of STOPPER SCREW type in with a cordless screwdriver. Use speed class 1.
Then tighten the screw of the STOPPER SCREW type in with the torque wrench to a torque of 4Nm (5Nm for conical anchor holes).
With our STOPPER SCREW torque set, this step can be done more easily.

STOPPER SCREW type in mounted in tie point with flush seal.
Status: 14.12.2022
Príslušenstvo
vhodné príslušenstvo
Kontaktujte nás
Radi vám odpovieme na vaše otázky